
Hi all. Please welcome our new blogger, Day Hill to the Anarchy family.
He’s put together a checklist to help you out when recording vocals in the studio, and some tips about how to organise your session while working with vocalists.
Read on below…
DAY’S VOCAL RECORDING TIPS & TRICKS
Here is my handy comprehensive checklist for you to bookmark and inevitably save time.
It’s a culmination of my personal approach and methodology for using and recording vocalists.
- KNOW YOUR SINGER’S STRENGTHS
Ask yourself what style will this person’s voice suit, what tonality/timbral qualities do they have to call on at their disposal that will fit your track.
- RANGE
Do you know their vocal range? What scales and root notes they sing best in.
You may have a track set in stone that you are not happy to transpose and or change its tempo. Make sure they know the track is set in stone if this is the case.
During your session have either a physical notepad to hand or a virtual one in or outside your DAW to make notes on your vocalists performance, for example key words like raspy, breathy, diva, soulful, great in D major e.t.c then you can save these vocalist profiles for help deciding on someone for your next chart topper.
You could go that step further and create bespoke variations of your custom template or plugin chains for each different performer.
- ARE THEY PROFESSIONAL?
Will they turn up and on time and not so half cut that you know you could have gotten better results had they not been.
Give someone the benefit of the doubt a couple of times but if it’s any more than 2-3 times without an extremely good reason don’t keep doing it to yourself just because you don’t have anyone else. Your music deserves better.
If they are the more thoughtful type who call you to let you know they need to reschedule then by all means give them a little more benefit of the doubt if you feel they may be genuine and to show your gratitude that at least they let you know and didn’t just not show, but if they keep rescheduling all the time just cut your losses.
They’re may be genuine reasons and they may very well really want to be a vocalist but sadly whatever the situation is for that person at that time it’s clearly not the right time for the both of you working together.
You can always reconsider them in the future but for this present time you need to stand firm and show your worth.
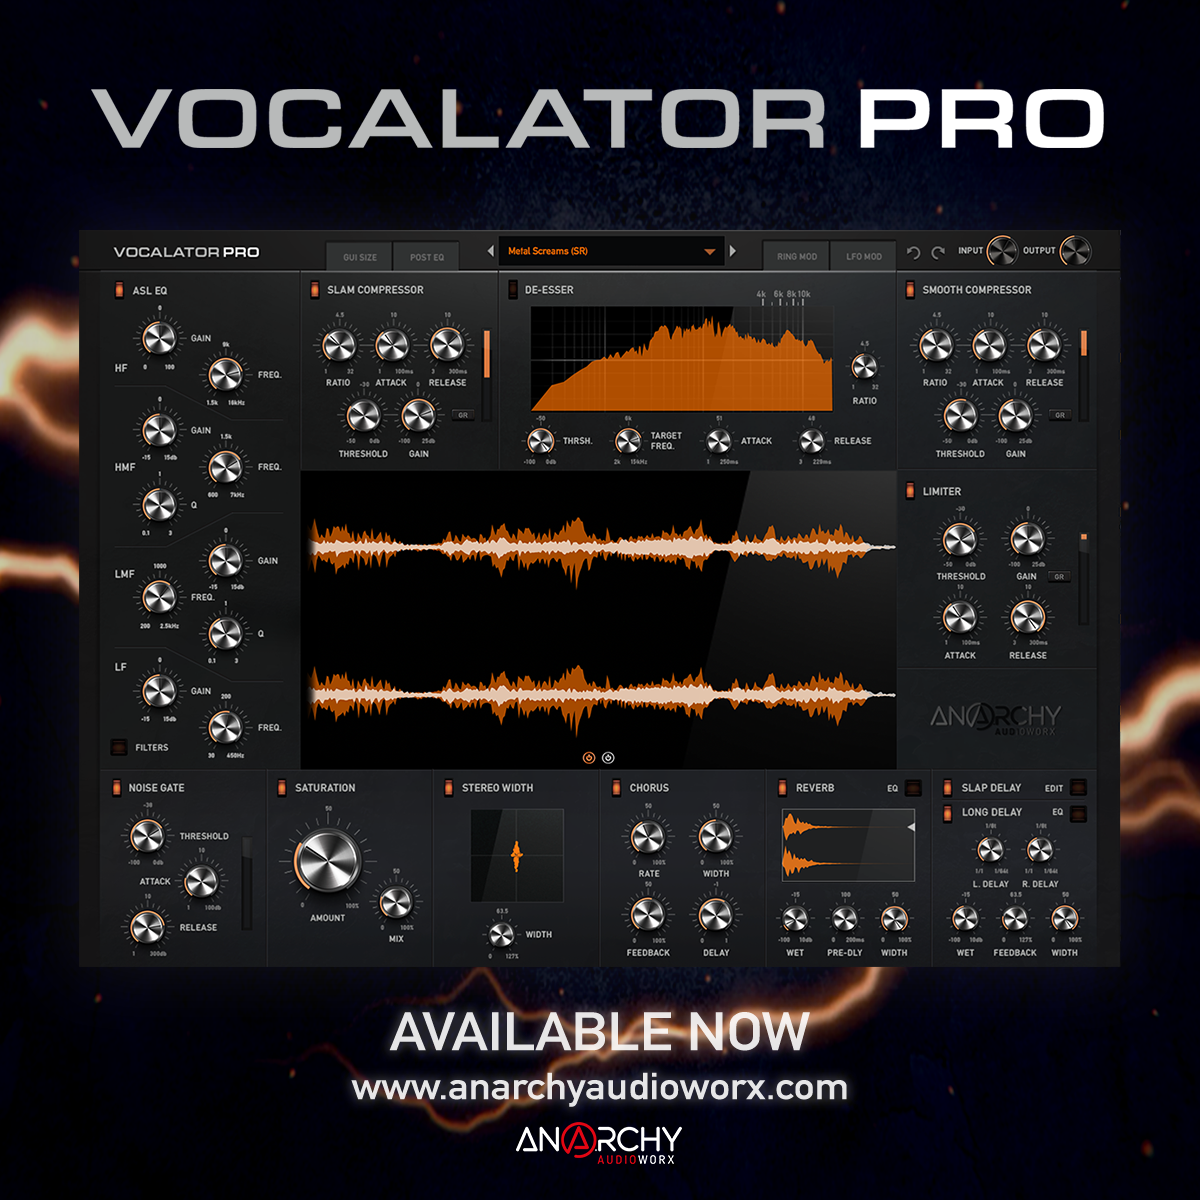


WHAT IS VOCALATOR PRO?
VST & AU Plugin for Mac & PC
Vocalator Pro is a 19-in-1 full vocal production suite that helps you get that radio ready polished vocal sound in an instant.
Built to suit all music genres, it’s super low un-noticeable latency and super low CPU usage, combined with its extensive amount of control and intuitive interface makes the up until now ‘industry standard’ choices of plugins used by world class mix engineers now seem obsolete.
Not only has this never been done before in VST/AU software form having 19 high-end plugins all rolled into one slick interface for a fast and convenient intuitive workflow, Vocalator Pro’s ‘one-click radio ready’ presets will save you and other mix engineers, producers, vocalists, live performers, podcasters & voice over artists around the world HOURS of painstaking tweaking usually needed in every session, giving you back more valuable time to keep the creative flow going and focus on the rest of the mix, while at the same time giving vocalists full confidence in their sound while recording helping to capture the very best performance both in the studio and live. Check out the full feature list, over 25 review videos, and much more below.
- COMFORT
Make them feel welcome and comfortable and make sure they have a jug of water to hand so they can pour themselves a drink. People just don’t like to ask sometimes so with that in mind show them where the toilet is while you’re at it.
Encourage them to do a vocal warm up and oblige them the courtesy of leaving the room as the warm ups can look and sound very odd indeed which can make them self conscious if you are present.
PRO TIP! Don’t ask them ‘do you want me to leave the room while you do a vocal warmup?’ Because they can often say “oh no it’s ok i don’t need/want to do a warm up”. Instead just say for example “Kelly I’m going to leave you briefly now to warm up your vocals, there’s a jug of water on the side here if you need and I’ll see you in around 20 (or x amount) minutes”
The beauty of wording it like this is…
- A) You come across confident, direct and professional.
- B) They will likely not back out of doing it now.
- C) The warmup is not only good for their vocals but it allows them to get over any pre-nerves even if they are nervous at first when you leave them they are subtly gently forced to relax into the new space and by the time you come back they will be raring to go.
- D) Chances may be you are still able to hear them in the next room which gives you a sneak peak at their vocals as they stand on the day and you can potentially spot any attributes you like/dislike before your recording session starts.
Of course if they really don’t feel comfortable to be left alone and or do a warmup at all then ultimately oblige them and never force them.
Oh, and please whatever you do… make sure to include the word ‘vocals’ if you are a bedroom producer in your actual bedroom and you say “ok Kelly I’m going to leave you to get comfortable and warmed up now see you in ten” They may be a little concerned to say the least ?
- PRE-READY
Prior to arrival make sure everything you and your singer will likely need is already set up including in your DAW.
Have a nice little setup area for them with a jug of water, hand sanitizer, sweets also good for the throat, a pack of tissues and that kind of thing.They will appreciate the effort and it looks professional.
You can even leave a neat little pile of business cards.
Don’t provide sharp treats, things like crisps or hard candy that could potentially cause an oral injury and scupper the recording session. Granted It may be a rare thing to happen but it’s best to help prevent it in the first place.
Don’t pre make their cup of tea though, oh no! ?
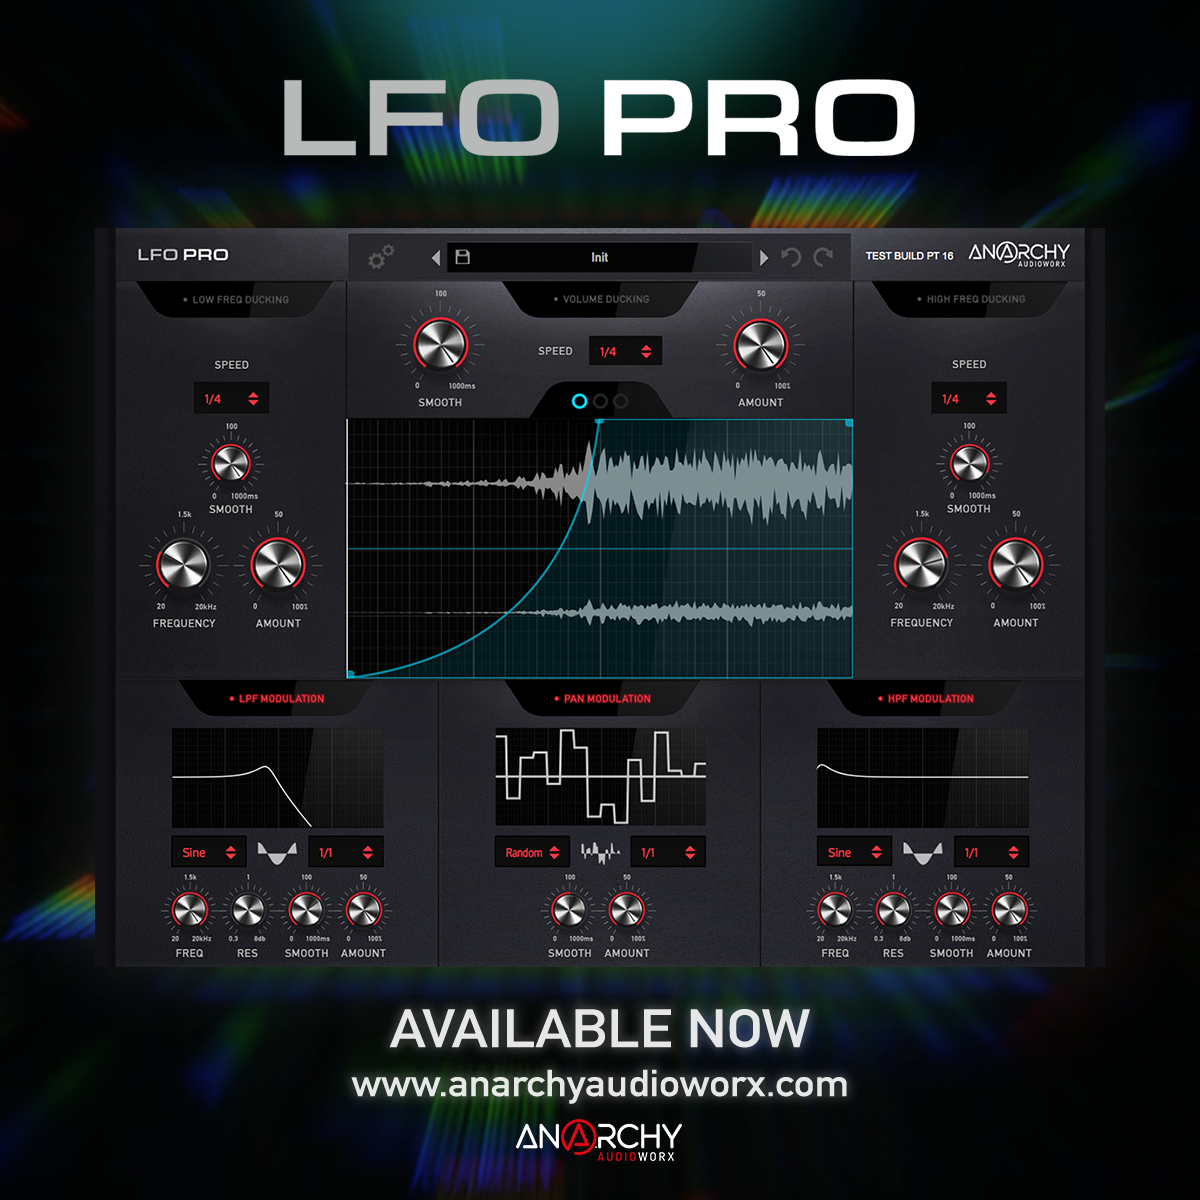
6 BRAND NEW PLUGINS AVAILABLE NOW!
Get HUGE savings for a limited time on our 6 brand new plugins, including Vocalator Pro, LFO Pro, BEEF, Anarchy Comp, Pulsar & Duplex
- PRACTICE TRACKS
Send them the track with a good amount of time prior to the recording day for them to practice to.
Send a version both with and without an instrument/synth/vocal demo playing the vocal melody you have in mind. You could include harmonies e.t.c but the main focus should be your main vocal lead melody.
You could also consider sending them a stemming of the different sections looped over several minutes. Five minutes of just the chorus looped around for example so they can practice that section without having to constantly rewind it.
Also consider asking them if they would like a metronome version included or just do one for them anyway.
If you have a main vocal melody score consider sending a sheet music or self written version of the lyrics which displays words broken down into their syllables instead but with each syllable displaying what note it is to be sung in.
- THE VOCAL SCORE/LYRICS
Some singers will want to come up with their own vocal score and or adapt the lyrics too.
Be clear to them how you envision things.
Are you happy with them to come up with their own adaptations or are you adamant how you want it to go?
Don’t be afraid to tell them what YOU want, if they get funny about it then they are simply not cut out for the recording life.
Exceptions are…
- A) If the track is considered a collaboration by the both of you. Understandably you both need to have a say and both need to be open to the ideas of one another.
- B) If a vocalist is genuinely struggling on certain sections then this is different and in this case you should reassure them to not worry and take a break if they think they can get it either after the break or for the next session.
If they really just can’t get that particular high note or syllable or whatever it is then in this case you do need to be mindful and open to adapt things.
Personally i usually have fairly set ideas on the main vocal score and lyrics but I’m open to the harmonies and ad libs but I am open to hear any other suggestions too
Sometimes I don’t have a melody line for them, just an overall idea of the vibe I want.


Join the Audioworx Family and get 1GB FREE Samples!
.
A 1500 strong community of music producers, composers, musicians, and artists from all genres. The Audioworx Facebook group is a place to gain and share knowledge, network, and discuss all things music creation.
Find the best deals on VST plugins, sample libraries, software, studio equipment, musical instruments, and other helpful music production resources.
There are also regular free giveaways and early access releases exclusive to the group members for Sample Packs, Kontakt Libraries, DAW Templates, Effects, and much more.
- COPYRIGHT & ROYALTIES
Bare in mind the vocal score is copyrightable just like the rest of the score, lyrics and actual recording itself are.
It is another thing to think about because if a singer has contributed to the score and or lyrics in any way they may want to be included in the royalties for this.
Personally speaking if a vocalist contributed to the score a fair amount then i would be more than happy and willing to add them to the royalties if we were going down the royalties route that is.
Generally you will either pay a one off session or completion amount or offer them royalties for x y z instead, but sometimes it may be a combination of the two.
Just make sure both of you are clear with each other what you are agreeing too.
- LYRICS SCREEN
Consider having a monitor set up with the lyrics displayed.
Make sure the font is a nice size and the screen is bright but not blinding.
Consider a wide viewing angle monitor like IPS which can be seen more equally from different angles/degrees.
The beauty of using a screen is…
- A) No more rustling or fidgeting noises from their paper lyrics or looking down to their arms covered in the scrolls of your latest lyrical masterpiece.
- B) They will be looking at the same spot thus hopefully not moving around the mic position as much, thus hopefully achieving a more consistent sounding recording.
Be mindful the screen isn’t transmitting any interfering sounds into the mic, keeping a balance of distance and font size will help here. Screens sometimes can output different frequencies depending on their tonal and brightness settings for example.
If possible set your DAW to auto scroll your lyrics in time to your track, bare in mind if you do this bring the lyrics in view a little sooner so the vocalist knows what line is coming next.
- SETUP
Generally condenser mics are best for vocals but will require phantom power to work, fortunately most interfaces these days provide it but please make sure you know for sure yours does.
If you are recording multiple singers and or recording over several sessions be mindful to try to use the same mics, cabling, equipment and recording areas and settings to keep things consistent, Ultimately though trust your ears.
If you don’t have the luxury of a separate recording booth then just make sure you limit noise as much as possible…
- Face your mics deadest zone of its polar pattern facing the noisiest source/area, PC fans for example.
- Turn off any room fans, shut doors and windows and FULLY SILENCE ALL PHONES, ALSO MEANING NO VIBRATE.
- Use a pop shield and shock mount if you have them.
- Consider buying a reflection filter to help fine tune your control of a room’s acoustics and get a step or two closer to a more ‘dryer’ direct recording. Look into ones from respected companies such as SE Electronics.
If you haven’t used your chosen mics and or cables in a while then test them before the vocalist is due to come to avoid any embarrassment.
Use the ASIO driver that came with your interface and make sure it’s up to date.
When setting a mic gain level on your interface ask them to sing a loop of what will likely end up being the loudest most intense section of the session. Often this will be a section of the chorus but not always.
PRO TIPS!
- Once you’ve set a level always roll back the gain somewhat. This may sound counter intuitive but you can bet your bottom dollar they will give their performances more ‘welly’ when they know they are going for a take. This leads to the second pro tip here which is…
- secretly record level checking takes too just in case they hit all the right notes in all the right places.
- Once set don’t adjust your gain from the interface unless it’s clipping, if you like adjusting the gain for dynamic purposes as opposed to a ‘hot’ clipping level reason then firstly i would say please don’t as you can adjust it afterwards via automation which you can either draw or write on the fly yourself thus keeping the original intact should you not be happy with your dynamic twiddling.
If you simply won’t be swayed and you just like doing it whilst the actual recording is taking place then please firstly keep the interface gain where you set it and secondly dynamically adjust the gain via either your DAW at a pre recording point in the chain or via your interface’s software controls so at least then you can reset the software level and have a consistent initial starting level.
- Lastly but firstly only set the recording level once your performer and mic is stationary in the same position and area they will actually be doing the recording in.
If you’re not sure on a mic position and area then don your headphones mute your speakers and ask your performer to sing in several different areas of the room whilst being mindful of noise spots.
DON’T FORGET if you want to record quick snippets of these areas in order to compare and contrast them then you or the performer will need to say into the mic what area of the room is being recorded each time as otherwise you simply won’t remember which snippet was recorded where, I’ve made this mistake many times.
Also keep things consistent with what they are singing whilst doing this, if you are comparing areas then to treat each area fairly the performer needs to perform the same material in the same manner in each area so you can more accurately spot and ultimately judge any main difference(s)
Don’t record vocals post FX, record pre FX. Don’t worry you can still add real time FX after the recording part of your chain to your singer’s foldback mix.
If you are going through outboard gear like mixing consoles that have an EQ you really like the sound of for example then i can understand the easiness of doing it pre-recording but if possible record it flat and run it through the gear afterwards as at least then you have the original intact and can re-record as many variations of the outboard gear’s settings you so wish.
Some outboard gear can impart subtle tonality changes even in their default flat position. Some of the latest interfaces like Focusrite 4i4 and SSL 2 have options you can try from the interface hardware itself that try to replicate older analog hardware preamps and such, supposedly adding subtle saturation and additional harmonics. Try different sources with or without it enabled and go with what your ears tell you is best.
One thing you could try is re-recording your vocal through the close micing of a speaker/guitar cabinet.
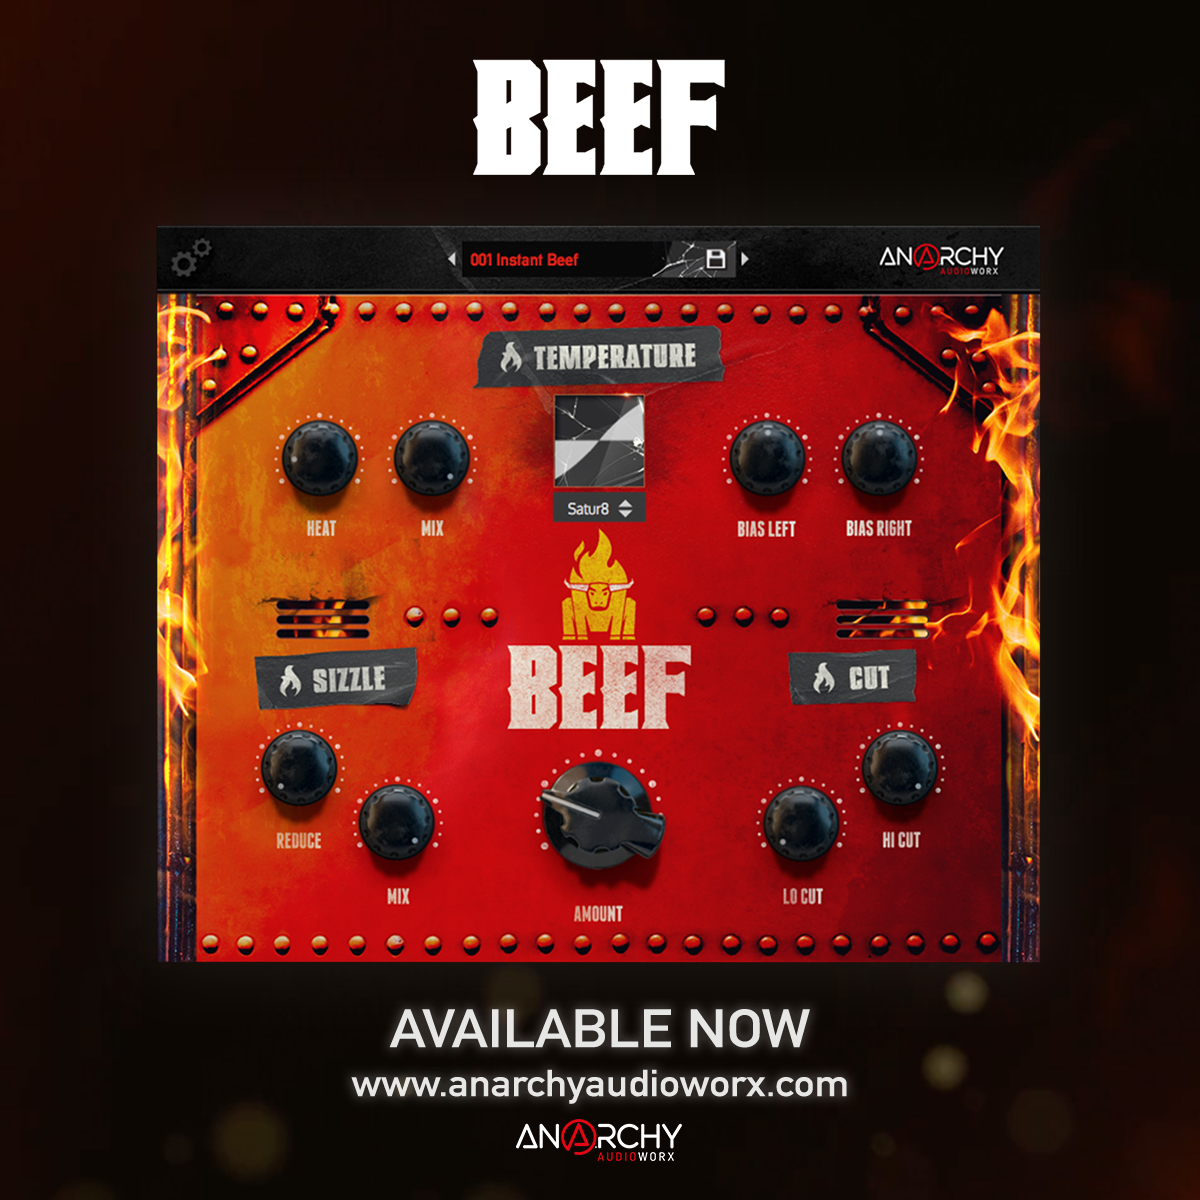
6 BRAND NEW PLUGINS AVAILABLE NOW!
Get HUGE savings for a limited time on our 6 brand new plugins, including Vocalator Pro, LFO Pro, BEEF, Anarchy Comp, Pulsar & Duplex
WHAT IS VOCALATOR PRO?
VST & AU Plugin for Mac & PC
Vocalator Pro is a 19-in-1 full vocal production suite that helps you get that radio ready polished vocal sound in an instant.
Built to suit all music genres, it’s super low un-noticeable latency and super low CPU usage, combined with its extensive amount of control and intuitive interface makes the up until now ‘industry standard’ choices of plugins used by world class mix engineers now seem obsolete.
Not only has this never been done before in VST/AU software form having 19 high-end plugins all rolled into one slick interface for a fast and convenient intuitive workflow, Vocalator Pro’s ‘one-click radio ready’ presets will save you and other mix engineers, producers, vocalists, live performers, podcasters & voice over artists around the world HOURS of painstaking tweaking usually needed in every session, giving you back more valuable time to keep the creative flow going and focus on the rest of the mix, while at the same time giving vocalists full confidence in their sound while recording helping to capture the very best performance both in the studio and live. Check out the full feature list, over 25 review videos, and much more below.
- ORDER
If possible record your main vocalist first.
Remember this saying… ‘Your Main Vocal Is Your Main Focal point’
Makes much more sense for your backing vocalists to vibe off the main singer and not the other way around.
- FOLDBACK MIX
Set up a bespoke foldback mix keeping the volume generally lowish so they are not fatiguing their ears and straining to sing over the music, generally over the course of any audio session we humans naturally end up listening at a higher level than when we started it.
Music is important for a singer’s foldback mix but should be secondary to them hearing themselves, if they can’t hear themselves they will subconsciously sing louder in an effort to hear themselves more which will put strain on their voice.
If they ask for the volume to go higher and you think it is fairly high already say to them “is that better” or “is that ok now” but here’s the thing, secretly don’t actually turn it up at first, you’ll be amazed how many actually agree that it’s much better, some won’t of course but for a lot it’s inbuilt just to ask for it louder, never ever let them know you do this as it won’t work in future with them then unless they are as forgetful as a fish with dementia.
If they are very sure and adamant they would still like it louder ask them specifically what it is they are wanting to hear more of and try to remedy it via turning something else down. So if they say ‘I can’t hear the music’ then lower their vocals and visa versa.
Provide them with a set of headphones with their own volume control attached. Set your initial foldback levels with the headphone’s volume control around 80-90% of its max, this will then give them room to adjust the level themself but not much louder. You can still adjust from your side regardless of course in case you feel it’s so loud it could potentially bleed out from the headphones into a mic.
If they are hearing too much of a delay you’ll need to try and shorten the audio buffer for your interface’s driver until either they are happy or you start to notice the first signs of audio glitches and dropouts, make sure you roll the buffer back again if you get the latter first.
You could also try and utilize any direct monitoring features your interface has to purposely help remedy such a scenario. For this to work as intended however you will need to unroute the out of sync vocals in your DAW from going through to the foldback mix so they don’t play as well as the directly monitored ones.
Also keep in mind unless your interface offers solutions you won’t be able to play the direct signal with any added processing such as reverb for example which a lot of singers do like to have a little of whilst listening back to themself.
As long as you have at least a second output going spare from your interface you will be able to create a bespoke foldback mix. If you are using FL studio again just message me if you’re not sure how to achieve it.
Tell them before recording to not worry if they mess up but to just keep singing by jumping in whenever they get back on track (Pun intended).
- METRONOME/CLICK TRACK
Ask your performer if they’d like a click track or not but set a volume they are happy with regardless because often they change their mind anyway about deciding if they want one or not.
Consider providing your performer with a small hardware controller for adapting their own levels including their metronome level and a metronome on/off control.
If you use FL and want to know how you can control metronome level and even link it along with an on/off function to a midi hardware controller just let me know.
- FL INCEPTION STYLE
You may or may not know about the ability to load FL inside FL as many times as you want and save both the slave projects individually and the master project with the slaves as a whole. Amongst the numerous abilities these slave FLs give you the one thing it is very handy for is vocals.
Yes David but we already have the ability to create a filter group in FL’s Channel Rack i hear you cry. Yes but vocals and the road to recording them initially can take up A LOT OF CHANNELS AND MIXER TRACKS therefore having a bespoke vocal template that is both separate from and part of your main project file is a winner. You’ll get 125 brand new mixer tracks to play with and a second playlist that plays alongside your master one.
Some genres of music like Pop for example rely heavily on vocal layering so much so you could easily have hundreds of takes, especially when multiple singers or performers like rappers are included too. The ability to have a dedicated FLP inception style of the main FLP really comes into its own here with these vocal driven genres.
- LAYERING & SEPARATION
How many layers you’ll need depends on the style or genre you’re going for. For example if you’re recording an intimate acoustic guitar track that’s just guitar and vocals you may think that because the vocals will be exposed in a limited mix of elements then you would therefore need lots of vocal layers but this isn’t always the case as the stripped back nature of the song extends to the vocals, having lots of vocal doubles here could completely ruin the intimate setting you’re trying to achieve. Would you need a singer who’s on point though? Absolutely as there’s not much place they can hide.
For more general Pop though you can go crazy with layers. You don’t have to use all the takes but you will often be saving lots and lots in with the project regardless as you compare and contrast which ones you want. You will also want to consider what is panned where.
Here is my general approach….
Main Vocal (Mono) – Please note by main vocal I mean the main vocal melody not the main singer, you can have several singers recording the main vocal melody.
Main vocal doubles (either mono or spread a little left and right) – These are quite simply exactly the same melody as above that are used to create a thickening chorus through slight variations between the performance of timing, pitch and amplitude. Think of a football crowd chanting as an extreme example of this.
In general doubles are capped at a much lower volume than the stand out take. used to support and thicken the stand out performance and not take over it.
Choose your best vocal take as the stand out dead centre mono track and edit out breaths and noise in between pauses by hand but keep all the takes that didn’t win the top spot for your vocal doubles, now to do all these by hand too would be VERY! time consuming indeed so personally I suggest using a gate to take care of these but please if you also want to denoise them then do this option first including for your stand out take and then gating second.
Always try to keep your originals too before editing.
PRO TIPS! Izotope nectar has a breath detector gate which works very well at detecting just breaths. But for certain shall we say organic styles like stripped back acoustic or interviews for podcasts breaths will be needed more to keep that natural non robotic believable humanistic feel.
You can mix up the amount of vocal doubling throughout the track, you don’t have to keep the doubles in place all the time, dynamically changing the amount used will help bring attention to certain sections of your track like beefing up the chorus for example and then having a more stripped, intimate verse section or it can help bring attention to keywords of the lyrics you want to highlight. This is the same for your harmonies which i will now discuss.
Harmonies – panned left and right. The melody of your harmonies could be the exact same score as the main vocal melody but just simply an octave above and or below it. It could even be following the same score but sung on a different starting pitch class within the key of the track or they could be a different but complementary mellody all together usually tightly following the chordal patterns of the track these too can be above and or below the main take.
Now you can not only record several harmonie note lines that support the whole score but each of these can be treated in the same way as the main vocal by recording doubles, now don’t forget all this is still just for one singer, and we haven’t even included ad libs yet. So as you can see, vocals can often be VERY NUMEROUS!
This is why it is a good idea to pan your harmonies more than the doubles of your main vocal to separate them from one another some more.
Each harmony line can be treated in two ways, either a) choose a stand out take like you would do for your main vocal melody or treat all doubles equally because harmonies don’t necessarily need a ‘stand out take’ like your main vocal melody will.
Generally speaking your whole harmony chain/bus should be a lower volume/focus than your main vocals.
PRO TIPS!
Start off simple, work around your main vocal score and go from there, do you need harmonies? Maybe not. Maybe you do but do you really need harmonies above and below? Maybe but then on top of all this do you really need doubles on your harmonies? Again maybe you do but don’t automatically think you need everything, by all means record the takes but build layers up one by one, if it sounds great why add more.
As well as panning your harmonies, consider reducing the mid channel of the mid side mix of them to free up room for your central main vocals to shine, consider the opposite for the doubles of your main vocals, i.e. reducing side information.
You’ve heard about side chaining your reverb and delay well have you ever thought about side chaining your harmonies vs your main vocal line? Give it a whirl. Take it a step further combing the mid side tip above so that the mid & side are dynamically and independently affected by your main vox versus harmonies.
Or why not filter your harmony bus so that focus between your main vocals is seperated and distinguished through interplay of tonality aspects as opposed to relying purely on lowering volume.
Your harmonies don’t necessarily have to be sung by the same vocalist either and you can even have a different vocalist for each harmony line. This is very common in house or gospel house for example.
As well as panning you can also stereo flip the harmonies in a pattern of your choice so that each side of the room hears each harmony and vocalist of that harmony but whilst retaining the relative mix of all of them.
6 BRAND NEW PLUGINS AVAILABLE NOW!
Get HUGE savings for a limited time on our 6 brand new plugins, including Vocalator Pro, LFO Pro, BEEF, Anarchy Comp, Pulsar & Duplex
- LOOP RECORD
Loop recording one section at a time will allow your vocalist(s) to get into a flow/rhythm and concentrate on the attributes/style to portray for each. In my opinion giving them the task of recording the whole set of lyrics in one go can be daunting and easily lead to them being flustered, worrying it won’t be perfect and instead full of mistakes.
Loop recording chills them out, especially if it’s a very lengthy piece or intense genre like speedcore just for a dramatic example, it’s important they don’t fatigue themselves so if you see they are struggling, give them a break and reassure them.
Loop recording each section also benefits you as the producer/engineer as the takes will be compiled together thus it will be much quicker to compare and choose the best ones.
- PRE-COMPRESSION BATCH NORMALISATION TRICK
Did you know that before adding compression you can split your takes into sentences and batch normalise them? If you use adobe audition you can even batch level them based on perceived loudness for example.
This will help get your whole vocal track into a much better ‘ballpark’ average level for your compressor to work with.
It’s important to not go overboard here, the trick is to split the audio into sentences that were sung as a sentence or until a breath is taken. Each sentence will have an intrinsic dynamic flow integral of its whole. When a new sentence is to be sung that is usually the place in time they will take a breath, you can view these breaths as a natural reset location for each new region marker, because this new sentence will have its own set of dynamics.
If however the next sentence was softly whispered for example then you may wish not to normalise it in order to reflect the naturally lower amplitude it would likely have. But the beauty of digital editing is allowing us to manipulate such attributes past their normal range without changing their timbral qualities so personally i normalise each and every region i mark and i can then always apply gain automation separately afterwards.
For lengthy takes use your DAWs weakest region detection algorithm for facilitating this task much quicker. You will much likely still need to adjust a lot of the markers it creates but some of them will usually be created in the places you require them.
You can even batch export each region (sentance) separately if you wish but personally i don’t recommend this because it’s much more handy keeping it all together as your DAW will be able to chop the audio file up in your project anyway via what’s known as ‘non-destructive editing’
PRO TIP! If you do decide to try my batch sentence normalisation trick make sure if you are wanting to apply any denoise and or gating that you apply it as a whole beforehand otherwise the noise floor profile will be different for each of your level augmented sentence slices thus will inevitably take you MUCH LONGER to apply individually. Thank me later ?
Keep this write up as a checklist to help you. Why not add it to your tools menu.
Join the Audioworx Family and get 1GB FREE Samples!
A community for music producers, composers, musicians, and artists from all genres to gain and share knowledge, network, and discuss all things music creation.
Find the best deals on VST plugins, sample libraries, software, studio equipment, musical instruments, and other helpful music production resources.
There are also regular free giveaways and early access releases exclusive to the group members for Sample Packs, Kontakt Libraries, DAW Templates, Effects, and much more.
Great content! Keep up the good work!